Today, I’m going to show you a dead simple strategy to build out your recruiting firm’s social media presence.
The best part?
You can do it in only 20 minutes each week.
The three reasons you need a social media presence
It’s 2017 and social media is so widespread that even the most grizzled old-school recruiter knows that a thriving social media presence can have a huge impact on the growth of your recruiting business.
If your social media account is actively maintained, it can
- position you as a trusted authority in your niche,
- drive traffic to your site and,
- build connections with clients, candidates and industry influencers.
However, if you go to the typical recruiting firm’s social media page, you’ll see one post a week or in some cases, a completely dead account. Put simply, if you’re not going to maintain your account, you’re better off simply shutting down your social media presence so you don’t look lazy.
And here is where the recruiter’s conundrum lies. How can you maintain a social media presence when you don’t have the time? The answer is simple: Buffer.
Why automation is the key to success
The number of social media accounts the average business is expected to maintain can be astounding. Even if you stick to the basics, you will likely have
- a Facebook page,
- a personal Twitter account,
- a company Twitter account,
- a personal LinkedIn profile and,
- a company LinkedIn page.
Simply posting to each of those profiles is time-consuming and that doesn’t even consider sourcing the content you want to post.
To save yourself the headache of posting to five (or more accounts), you need to sign up for Buffer. Buffer is a tool that allows you to post content to one location and have it shared across multiple accounts. It also lets you add posts to a queue so you can schedule posts for later. In short, it is an automation tool that will save you hours each week.
Note: I have no affiliation with Buffer. I am simply a satisfied customer.
To get started, sign up for the Awesome plan ($10/month) and begin to connect your accounts. You can try the free account but you can only have one social media account per platform and only 10 posts in your queue.
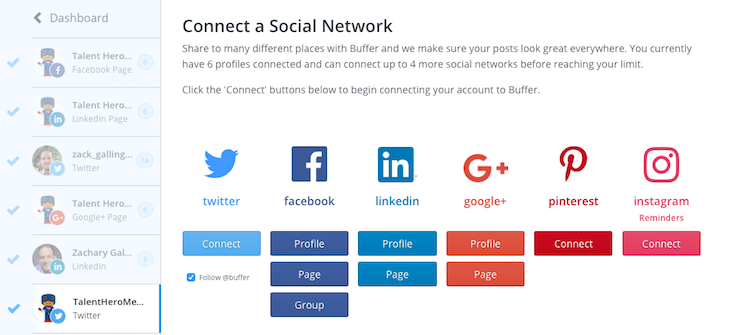
In my account, you will see I have connected six accounts.
Finding content for social media
The next task is finding content to post to social media. Your best bet is to post a mix of other people’s content (content curation) and your own content.
Content curation when you already have content
If you’ve read our post on email marketing, you already have some content to share. In that case, grab the link to the article, pick any of your social media accounts and paste the link in the box with the text “What do you want to share?”

Next, make sure that you manually check all of your social media accounts so that your post is sent to every account and then add any text you want to see in the body of the post.
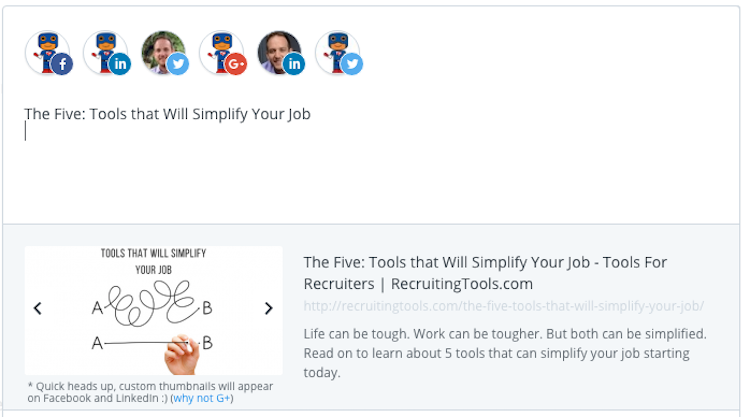
Note that if you add more than around 110 characters, your text will be truncated on Twitter.
Click the “Add to Queue” button and the post will be scheduled in your next available spot. You can review your queue by clicking the Schedule button at the top of the page.
Content curation when you don’t already have content
If you still haven’t found the time to source your content, don’t worry as Buffer makes the process dead simple.
Under Content, click Content Inbox and paste the URL of your favourite blog or enter a topic to find popular blogs on that topic.
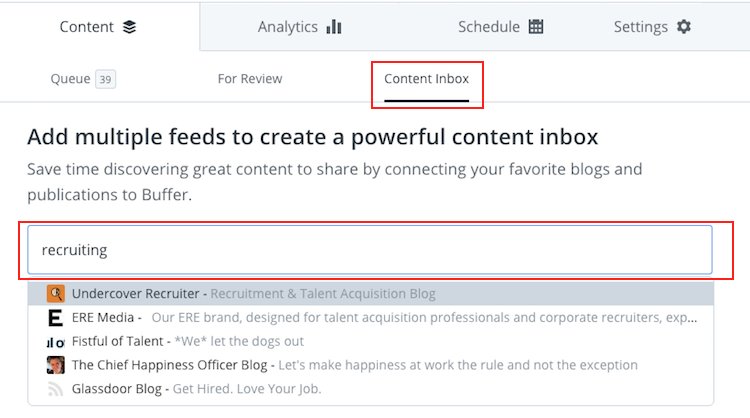
A list of the blog’s most recent posts will appear automatically. Click the Add button for any post you want to share and follow a similar process to the one above to add the content to your queue.
Original posts
If you have your own blog content, the process is the same. Add your content to your queue and you’re all set.
The one trick that can save you tons of time
Once you’ve posted your content, it is removed from your queue and you need to go to your Analytics tab to “re-buffer” or re-add it to your queue.
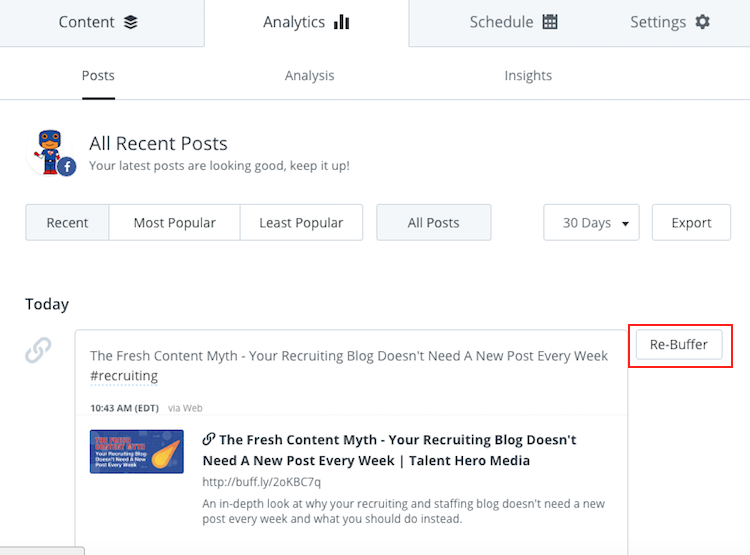
Fortunately, there is a way to skip this process and have your content automatically re-added to your queue using IFTTT.
IFTTT is a simple tool that uses “applets” (mini-apps) to tie your favourite services (in this case, Buffer and a social media platform) together.
Once you’ve signed up for an IFTTT account, click your account name in the top right and select New Applet.
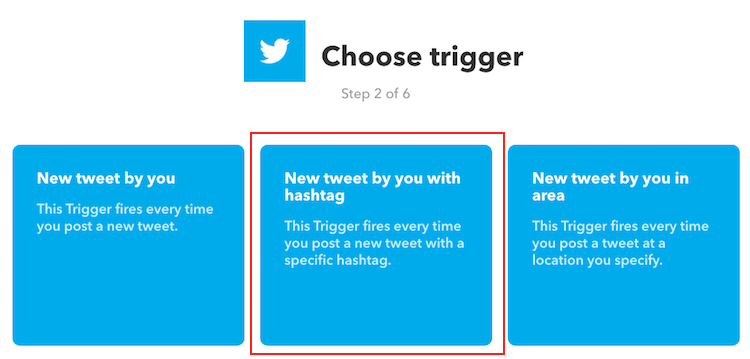
Click the “+this” and search for Twitter. Select the “New tweet by you with hashtag” trigger and choose a hashtag you will use in every post you want to be re-buffered automatically.
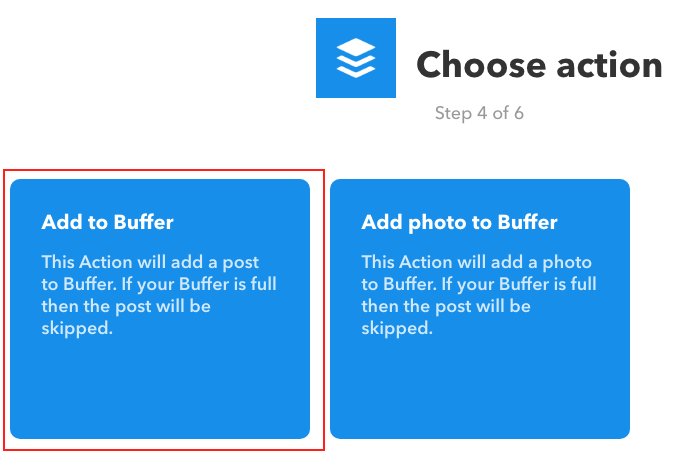
Click “+that” and search for Buffer. Select the “Add to Buffer” action and select the “Create action” button.
To complete the process, click the Finish button.
Some other things to know
- IFTTT will only re-buffer tweets with a specific hashtag. This allows you to add some content that you want to be posted once and some content that you want to be continually re-added to your queue.
- To re-buffer content to social media platforms other than Twitter, you will need to create different IFTTT applets. Leave a question in the comments if you need assistance.
Now it’s your turn
Now that you know what to do, you have no excuse to not immediately get started on building out your social media accounts.
If you have any questions or comments, leave a comment below and I will get back to you.


